

My Way: Violin Construction From Start to Finish
PART VIII: PUTTING IT ALL TOGETHER
Not only do I have to glue the top and back together, but I must make the final interior thematic decisions and "execute" my ideas before the top is glued on. Then the painstaking setting of the neck can begin. In just days now, a few odd looking parts will come together as a musical instrument.

All the parts of a cello are finished. I glue them together and the instrument is ready to be varnished.
The glue is dry and the inside of a viola is ready for any identifying pictures or labels requested.

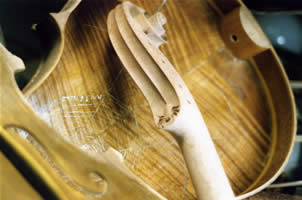
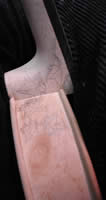
Anne uses only very thin films of paint or in this case, inks, to create the internal worlds of her instruments. Here you can see the very first sketch inside as the idea emerges.
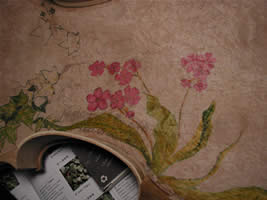
More flowers have appeared and the leaves have come into focus as the Primrose-Ivy theme is developed.
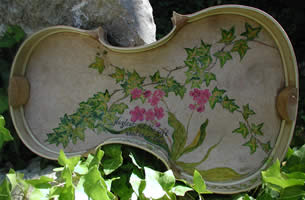
The interior painting is now complete. Next the top will be glued on finally making the body whole.
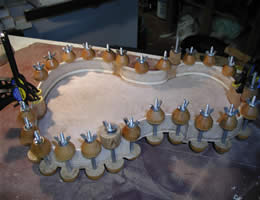
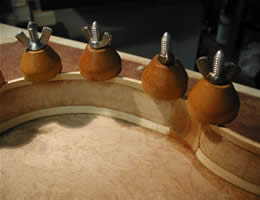
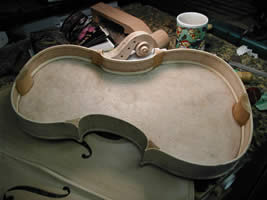
A viola back with all the clamps in place being glued to the rib assembly. A close-up of the viola back being joined to the ribs.
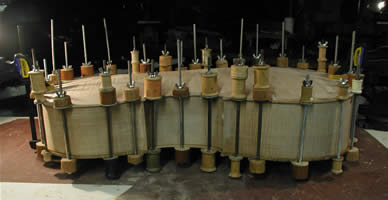
The body of a cello is glued together.
.jpg)
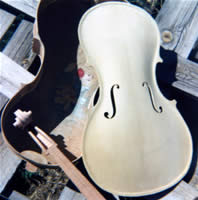
A close-up of a viola top being glued onto the back.
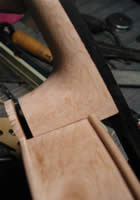

Setting the neck angle is extremely crucial to the final results as it determines the bridge height which is a big factor in the ultimate sound and playablility of an instrument.
Two violas complete, cleaned and ready for the all important varnishing procedure.