

My Way: Violin Construction From Start to Finish
PART V: THE RIBS
Establishing the Unique Identity of a Violin, by photographer, John Allen of Placitas, NM
The bending iron is turned on. Sometimes I ponder the "old days" centuries ago when my heating iron would be placed in the kitchen hearth to be heated by hot coals. How many arts and crafts do we delve into today, changed only by ease of method, which our ancestors also pursued during the 1600's?
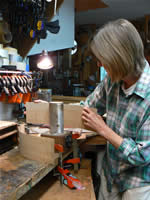
Anne is pictured here with her glorified curling iron which works great on strips of maple such as the sides for a violin, viola or cello. With a bit of dampening and extreme care and patience, the wood bends as it is pressed against the heated iron.
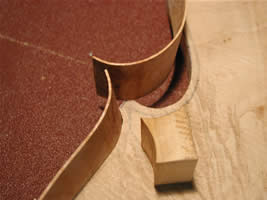
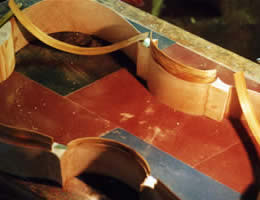
The ribs are bent and ready to be glued onto the corner block.
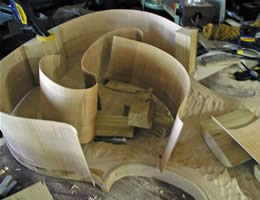
Most makers today use the mold method of constructing the sides of the instrument. By building up the rib garland piece by piece following the outline of the instrument, she can create any design quickly and spontaneously.

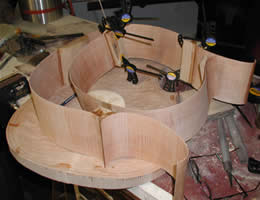
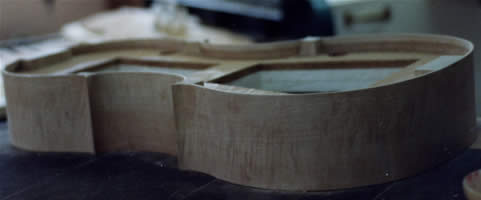
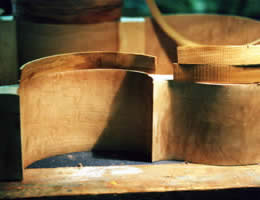
The rib garland is now complete. Next the linings will be glued in.
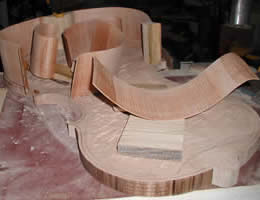
This cello was created using the mold method before Anne went "free-form."

Another view of a completed rib garland. The end and corner blocks are in clear silloette.
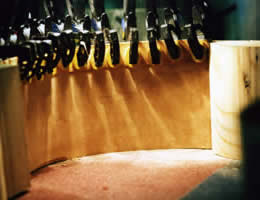
Pictured above are views of the rib linings as they are fitted and then permanently glued and clamped in till the glue is dry in several hours.