

My Way: Violin Construction From Start to Finish
PART IX: VARNISHING
Many recipes for varnishing exist, some of which contain secret and exotic materials guaranteed to create exquisite tone if not the actual tonal recreation of the old master violins. I won't presume to expound on these lofty matters. My goals are durability, i.e. preservation of the instrument, tonal enhancement in some small measure and visual beauty last but not least.
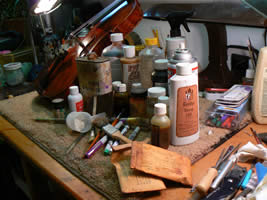
Just a few of the possible varnish components along with some favorite brushes are pictured. My varnish room is littered with current and past ingredients, paints, resins and stains which I have used in my concoctions. Generally I favor linseed oil-based varnishes for their durability and for the artistic layering effects I can achieve.
.jpg)
A finished viola with the first amber ground coat applied.
.jpg)
The ivy motif extended to the neck as it joins the instrument.
.jpg)
A scroll has its first color applied to an intricate design requested by the musician for whom it was made.
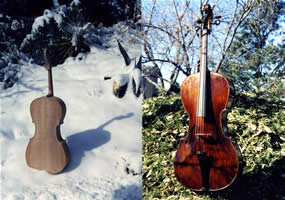
The cello is varnished with a special varnish. From six to twelve coats are applied. Then it is polished and all the ebony fittings are completed. All that is needed now is a sound post and a good set of strings and IT'S FINISHED. One winter a cello was completed. By early spring, it was coated with 12 coats of varnish and ready to play.